What you’ll need:
-Driver’s side trim piece from the dealer, part # 51 13 1 977 681
-Small pair of pliers
-Small scribe or punch
-Liquid silicon spray or similar
-Rubber hammer or mallet
-Masking tape or similar
Note: This prodedure is identical for the passenger side, as well. Just make sure you pick up the correct part from the dealer.
First you’ll have to remove the old trim piece, of course. You’ll definitely want to start from the front edge or the rear edge of the trim piece. It will make your life much easier. Having now completed the job, I think the install is simpler if you begin from the rear edge, because of the curvature of the trim piece there.
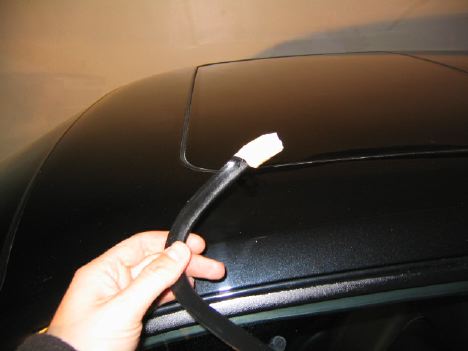
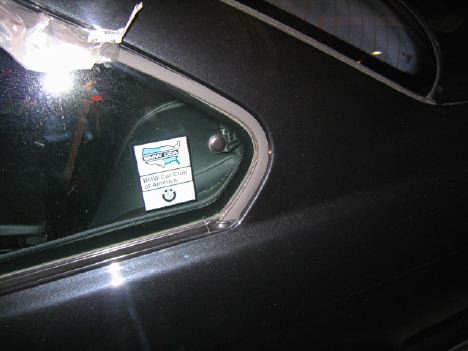
The rear edge is slightly recessed into a black rubber trim piece that lines the lower edge of the rear window. You’ll have to first pry the edge of the trim piece being replaced from this piece very carefully. I started by bending the edge away from the body with a tiny screwdriver, and then continuing using a small pair of pliers.
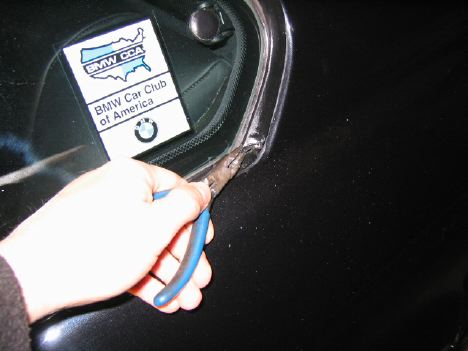
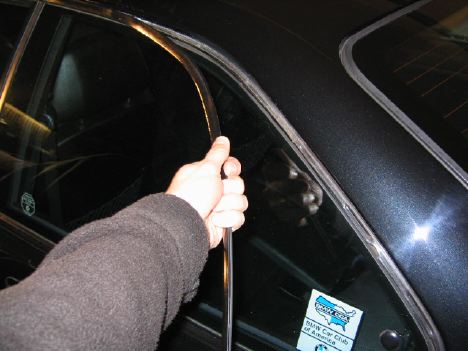
With the lower edge free from the mounting edge on the body, now you are free to start pulling the trim piece completely off. Using both hands (so that you can keep the sharp aluminum edge from scratching your paint work), carefully pull the piece away from the body. You may have to muscle it a little; over time, moisture and dirt seem to create a bit of an ‘adhesive’ between the trim piece and the body.
The trim piece will bend and crease as you pull. Each time the trim piece ‘folds’, it’s a little harder to pull away, so try to avoid bending it too sharply.
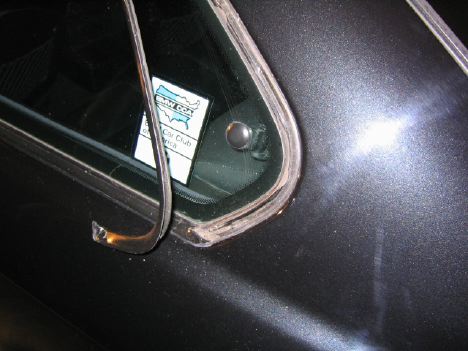
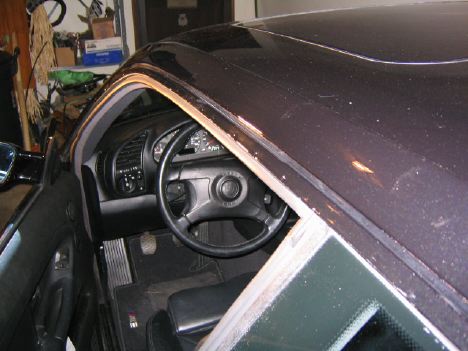
Notice as you remove the piece how it attaches to the body. There is a mounting edge that the trim piece clamps around. When you install the new piece you will have to make sure you align to this edge evenly.
You’ll notice that the rear edge of the trim end is quite sharp. It’s a good idea to wrap the edge in tape so that it won’t scratch your car if it accidentally hits the side of it.
Once you get the piece completely off, you’ll see that the mounting edge is probably a little crusty and will need to be cleaned.
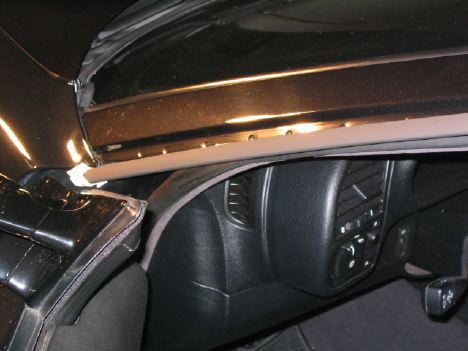
I took a rag and some rubbing alcohol and cleaned all of the dirt and oxidation off of the edge. I then followed that up with the application of some cleaner wax. This shined up the edge pretty well and also created a nice smooth surface that made installation of the new piece much easier. Here you can see the cleaned edge. Final result matched the look of the rest of the body.
Now you can start installing the new trim piece. Once again, start from the rear edge. Make sure to recess the edge into the rubber piece mentioned earlier. You don’t want to mount the trim piece too high... Obviously, it will affect the proper fitment.
Once again, to prevent damage to your bodywork, you will want to tape the front edge of the trim piece just in case it hits the car.
Now you are ready to continue. Once you push the rear edge into place, you can start to press the rest of the piece onto the mounting edge of the body.
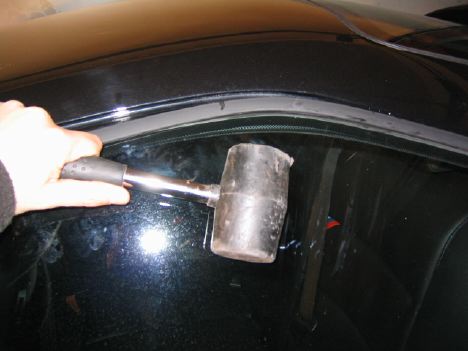
As you move up the window, you will quickly realize that mere pressing with the hands will not ‘pop’ the piece into place. You will now want to utilize a rubber hammer or mallet to knock it into place without damaging it. Another tip that will help you out is to spray some liquid silicon lubricant along the top edges of the trim piece so that it pops in easier.
I held the rubber hammer against the window and slid it across the glass as I struck the trim piece. Striking it in this way will prevent you from accidentally directing your striking force to the window, itself.
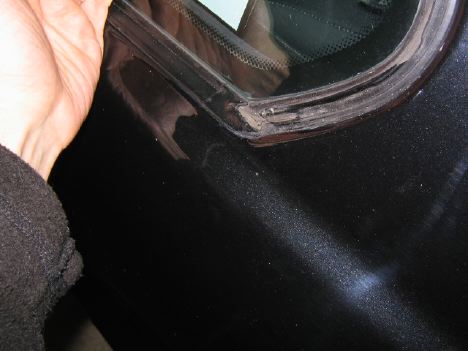
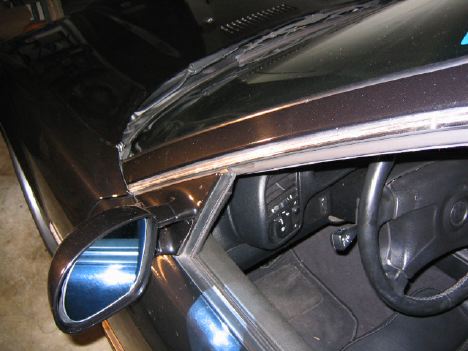
Now here is where it gets a little tricky... Once you get to the driver’s side window, you’ll have to make sure that the trim piece seats in between the edges of the rubber window seal behind the mounting edge. This is the most time consuming part of the job, so be patient. If you don’t get this right, you risk damaging the rubber seal or mounting the trim piece incorrectly. If you’re not sure how it is supposed to mount, look at the passenger side and compare.
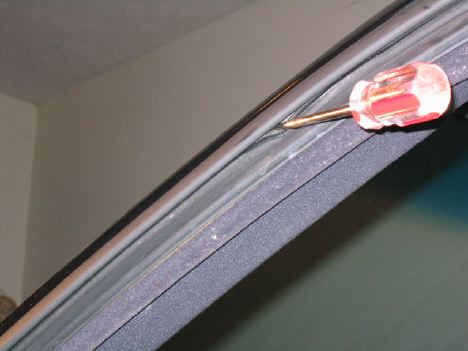
The best way to do this, in my opinion, is to use a tool like a scribe or a punch to ‘guide’ the placement of the rubber seal upper channel as you mount the trim piece.
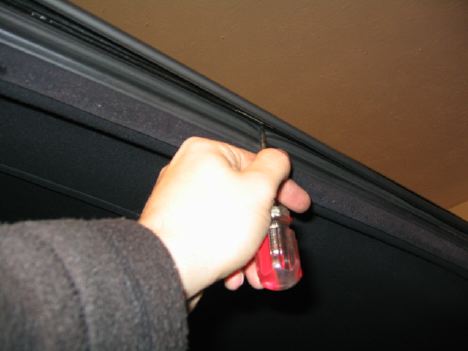
It helps to slide the scribe along the edge of the seal as you press the trim piece into place.
Once you get to the front edge of the trim piece, you may find that the front fender edge that meets the ‘A’ pillar doesn’t provide enough of a gap to press the rest of the trim piece in place. (This may not be the case with your car; my car happened to exhibit this trait, for some reason.)
To get around this, you need to be able to VERY SLIGHTLY pull the fender edge away to create enough space to fit the trim edge. A safe way to do this is to take a very thin piece of wood shim, say, no more than 1/4” thick, and press it behind the edge of the fender where it meets the ‘A’ pillar.
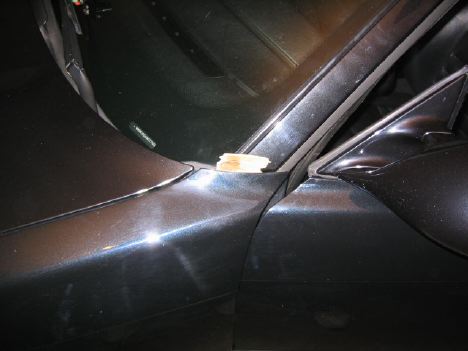
This provides all the clearance you will need to finish the job. Hammer the rest of the edge in, and, VIOLA! You’re done.
Adam Nitti
www.adamnitti.com